
To add a Giscus comment section to your Next.js blog, just follow three simple steps:
1️⃣ Install the Giscus App on GitHub;
2️⃣ Visit giscus.app, select your repository, and generate the script;
3️⃣ Paste the generated <script> tag at the bottom of your article layout.
Once deployed, visitors can comment on your blog using their GitHub accounts.
Introduction
After experimenting with Hugo and Notion for blogging, I decided to build my own blog project from scratch.
Here’s the repo 👉 https://github.com/836108186/blog_zxyj
Once I got the basics running using Tailwind + Next.js Starter Blog, I quickly realized something:
A blog without comments just feels a bit lonely — there’s no real conversation happening.
So, I compared several comment systems (like Disqus, Utterances, and Gitalk) and finally settled on Giscus — a backend-free comment system powered by GitHub Discussions.
Here’s my full setup guide and some pitfalls I ran into.
1. Create a GitHub Repository with Discussions Enabled
Giscus relies on GitHub Discussions, so you must enable the Discussions feature in your repo.
Before using Giscus, make sure you have a GitHub repository ready.
If you’re using Next.js Starter Blog, simply click “Use this template” at the top right of the repo to create your own blog.
Otherwise, just create a new repo manually — it’s quick.


Once Discussions are enabled, Giscus can properly sync comment threads between your blog and GitHub.
2. Install the Giscus App
The Giscus App acts as a bridge between your blog and GitHub Discussions, authorizing comment reading and writing.
To allow visitors to post comments, you must install the Giscus App on GitHub.
- Visit https://github.com/apps/giscus
- Click Install (or Configure if you already have it installed);
- Select the repository you want to use for comments.
After installation, Giscus gains permission to create and manage discussion threads under your repo’s Discussions tab.
3. Generate the Giscus Script
Go to https://giscus.app, and you’ll see a configuration generator.
Here’s what you need to do:
- Select your repo (e.g.,
username/blog-repo); - Choose “Discussions” as the category;
- Adjust your theme and language;
- Copy the generated
<script>code.
You’ll later paste this snippet into your blog’s article template.
4. Add the Giscus Script to Your Next.js Blog
Open your blog project (e.g., based on Next.js Starter Blog) and locate the component that renders post content — typically components/Comments.tsx or the bottom of your post layout file.
Paste your <script> snippet there. Example:
  <script
    src="https://giscus.app/client.js"
    data-repo="yourname/yourrepo"
    data-repo-id="repo id"
    data-category="General"
    data-category-id="Category ID"
    data-mapping="pathname"
    data-reactions-enabled="1"
    data-emit-metadata="0"
    data-theme="preferred_color_scheme"
    crossorigin="anonymous"
    async
  ></script>
Once saved, deploy your site again. Now your blog posts should display a comment section that connects directly to GitHub Discussions.

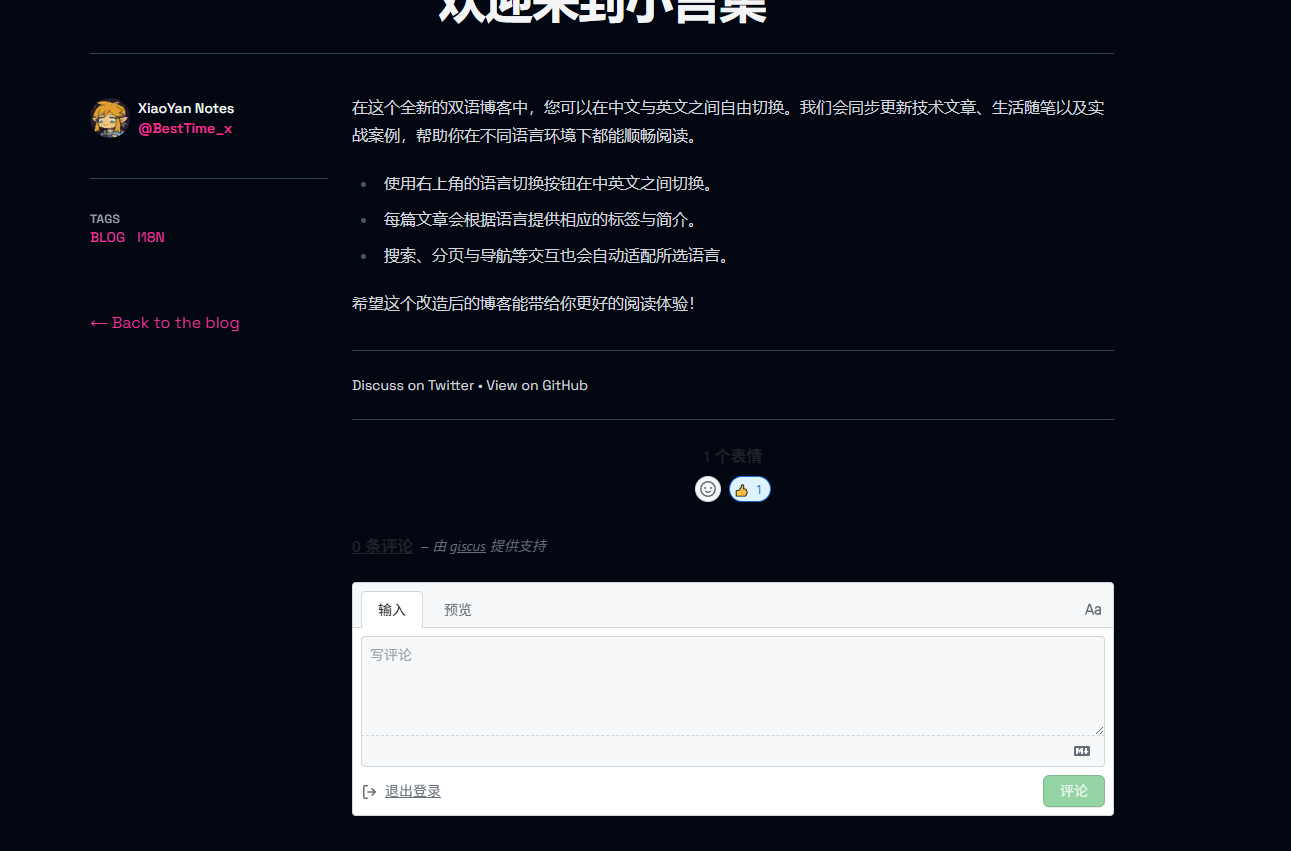
After deployment, the comment section will appear at the bottom of your post
and sync in real time with your GitHub Discussions.
5. Common Issues & Tips
❌ Giscus not showing up?
- Double-check that the repository and category IDs match.
- Ensure your blog domain is listed under “allowed origins” in the Giscus app settings.
🌓 Dark mode issues?
- Use
data-theme="preferred_color_scheme"to automatically switch themes based on the user’s system preference.
🔐 Permissions error?
- Reinstall the Giscus App and make sure it has access to your comment repo.
Most issues are related to authorization or configuration settings.
Double-check your repo_id and Discussions configuration first.
Recommended Reading
- Markdown Writing: Practical Syntax & Tips for Developers
A practical, developer-friendly guide to Markdown: core (CommonMark) syntax and GFM extensions, with real-world tips on formatting, code blocks, tables, and common rendering pitfalls.
- Welcome to Xiaoyan's Blog
Happy to see you here!